Run the lab like a studio, not a lecture.
Timing, stations, safety, mixed-ability tasks, and a 16-period sequence mapped onto the original Digital Challenge Arduino + Processing curriculum.
What changed from the source PDF
The original document is an excellent student tutorial. This edition keeps its exercises, photographs, DigComp alignment, and hackathon scoring — then adds the missing teacher operating system.
- Pacing for 45-minute and 90-minute high-school periods
- A 16-period sequence that fits a semester club or a STEM elective
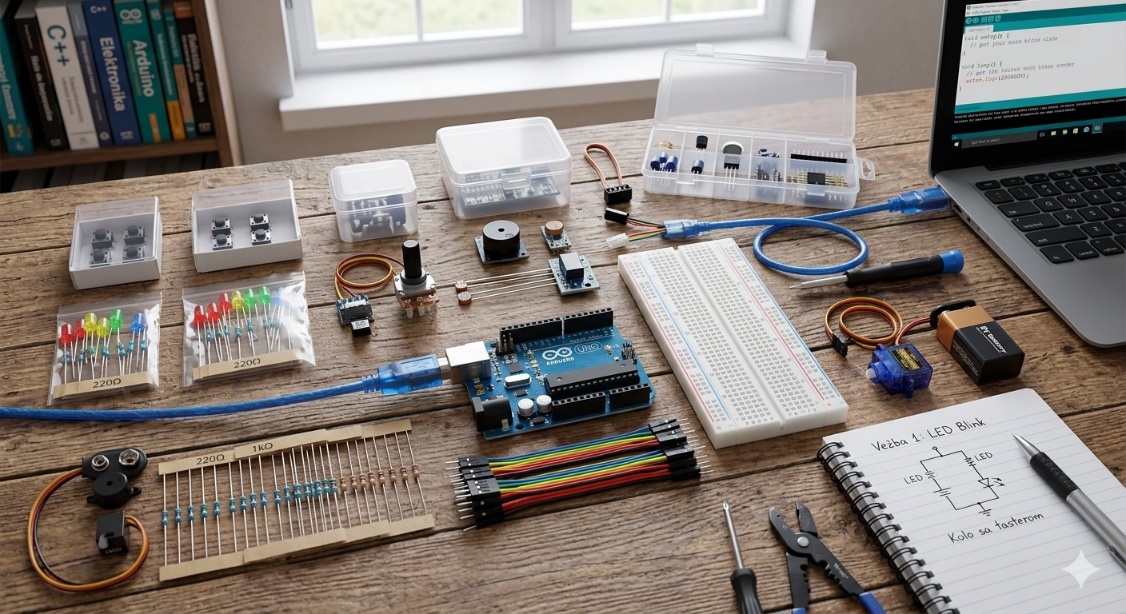
- Station roles, kit quantities for 24 students, and a first-day protocol
- Safety briefings for USB power, relays, pumps, and servos
- Formative checks and a shared rubric you can use on every project
- Skip the Processing menu encyclopedia; keep only what a class needs
Semester map
Each period is 45 minutes. Double periods cover a full project plus gallery walk.
Arduino intro
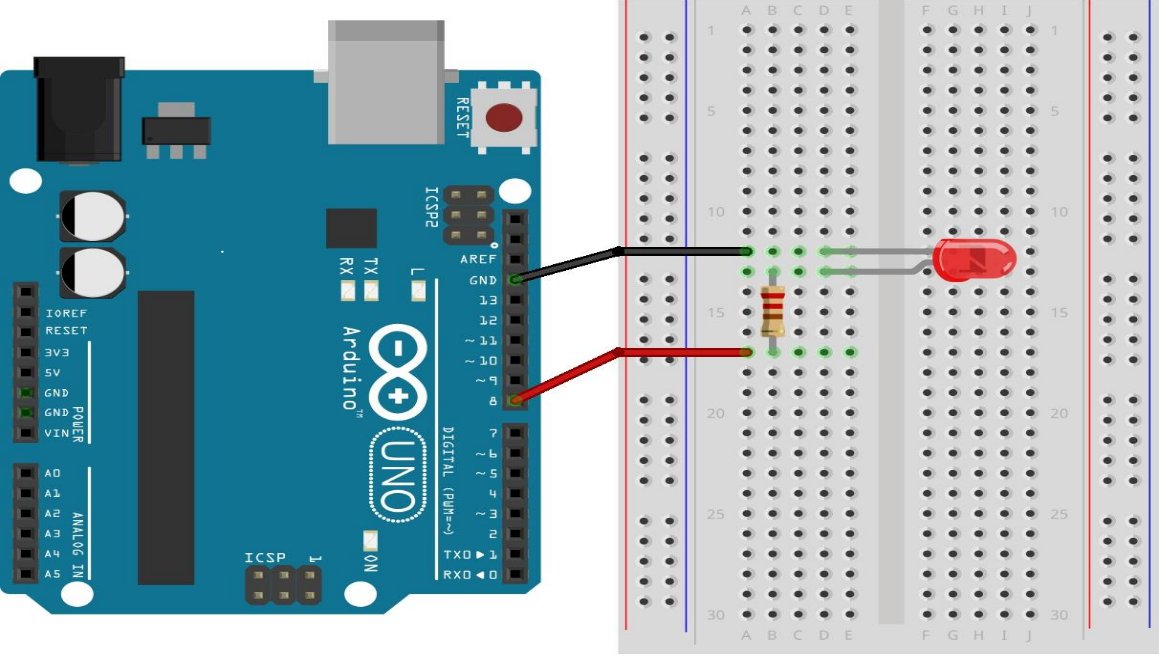
Board anatomy, Blink on pin 13, external LED, first debug ritual.
Processing intro
Window, shapes, serialEvent, CSV parse, send 1/0 back to the board.
Project 1 DHT11
Library install, two-value serial, dual bars, heat alarm.
Project 2 LDR
Voltage divider, analogRead, map(), night-light extension.
Project 4 Ohm meter
Ohm’s law as a measurement tool. Physics crossover day.
Project 3 Sonar
Distance, servo, then radar. The showcase project.
Project 5 Irrigation
Threshold logic, relay safety, automatic watering demo.
Hackathon
Scored challenges. Use as exam, open day, or Erasmus mobility.
45-minute lesson skeleton
Use this on every project day. Students learn the ritual; you stop reinventing the clock.
| Minutes | Move | What you do | What they do |
|---|---|---|---|
| 0–5 | Safety + goal | One physical demo on the projector. State the exit ticket. | Kits closed. Listen. Assign roles. |
| 5–12 | Theory punch | One diagram, one formula, one common fail. | Copy the wiring table into the log. |
| 12–32 | Build + code | Circulate. Do not debug for them — ask which layer failed. | Simulate or wire, upload, then Processing. |
| 32–40 | Levels | Unlock Basic / Intermediate / Advanced from the project page. | Finishers extend; stuck pairs get a checkpoint sketch. |
| 40–45 | Exit | Photograph working stations. Power down. Count jumpers. | Write: what broke, what they changed, what they would add. |
Station kit · class of 24
Eight stations of three. Shared laptop per station is enough.
| Item | Per station | Class + spares |
|---|---|---|
| Arduino Uno + USB | 1 | 10 |
| Breadboard + jumper pack | 1 | 10 |
| LED + 220Ω | 2 | 20 |
| DHT11 + 10kΩ | 1 | 10 |
| LDR + 10kΩ | 1 | 10 |
| HC-SR04 + SG90 + holder | 1 | 10 |
| Known 1kΩ + unknown mix | 1 set | 10 + bag |
| Capacitive soil + relay + pump | 1 | 4–8 demo kits |
| Laptop with IDE + Processing | 1 | 8 |
Roles that actually work
Shared rubric
Score every project on the same five dimensions. 20 points. Fast to mark during a demo.
| Dimension | 1 | 3 | 4 |
|---|---|---|---|
| Wiring | Guesswork, no GND check | Matches diagram, labeled | Clean routing, can explain every jumper |
| Code | Copied, does not compile | Runs, names are readable | Comments, constants, no magic numbers |
| Serial + UI | No data / frozen sketch | Values update | Parsed safely, mapped, labeled units |
| Debug process | “It doesn’t work” | Changed one thing at a time | Can say if the fault is power, code, or port |
| Explanation | Cannot teach a peer | Describes the data path | Connects to physics / a real job |
One room, four speeds.
First-day protocol
- Install Arduino IDE 2.x and Processing 4.x on every station laptop before the period starts.
- CH340 / official Uno drivers tested. Print a COM-port cheat sheet.
- Board → Arduino Uno. Students screenshot Tools → Port.
- Upload Blink. Celebrate the onboard LED. Then, and only then, breadboards.
- Teach the golden rule: schematic → simulation → wiring → upload → test.